You Tube Video
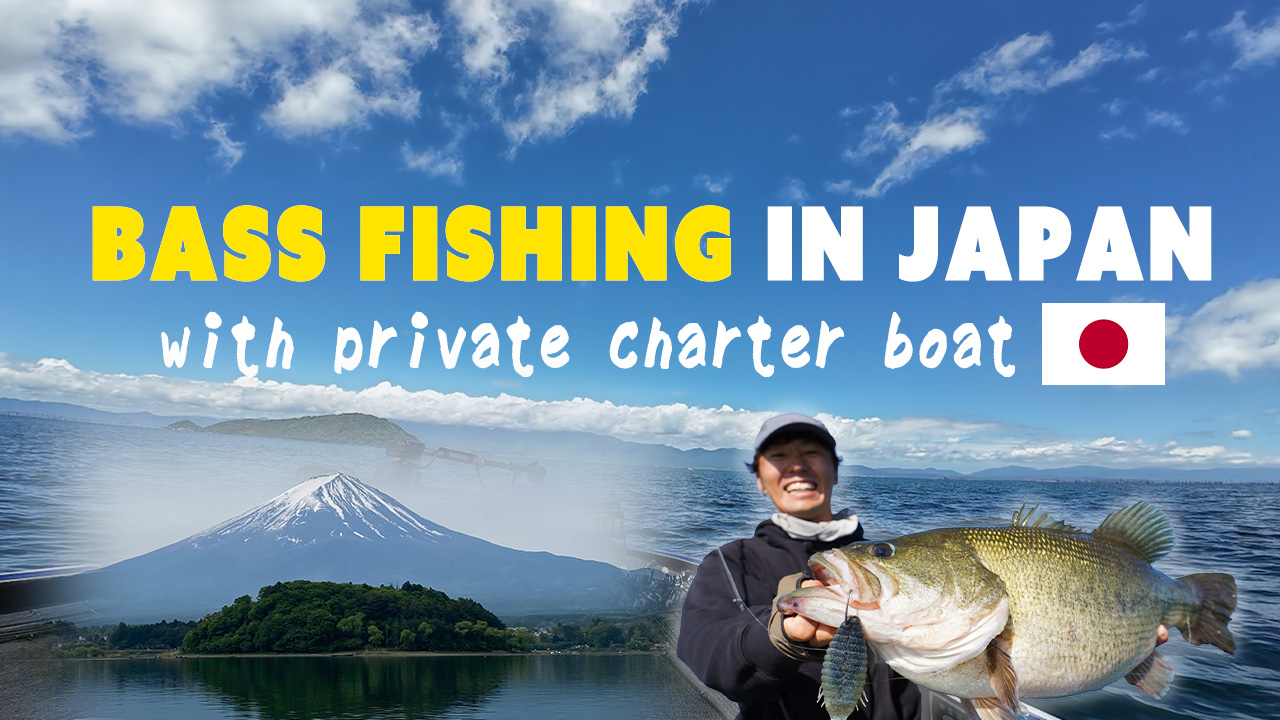
The best of 2 baits in spring of Lake Biwa bass fishing【Professional Guide Explainations】
In this article, The guide will share two essential techniques and baits that I rely on from winter through early spring on Lake Biwa. These are not “random lure picks”—they’re the kind of big-bass-focused patterns you need if your goal is to consistently target trophy fish during the toughest, cold-water part of the season.
Swim Jig Pattern (Winter to Early Spring on Lake Biwa)
From winter through early spring on Lake Biwa, a swim jig is one of my most reliable tools for targeting big female bass—especially fish that are already thinking about spawning.
The key is not just “throwing a swim jig,” but matching the jig style to the cover and structure and fishing it with the right contact and hookset mechanics.
Two Swim Jigs for Two Situations (Grass vs. Rock)
I rotate between two swim jig setups depending on where I’m fishing:
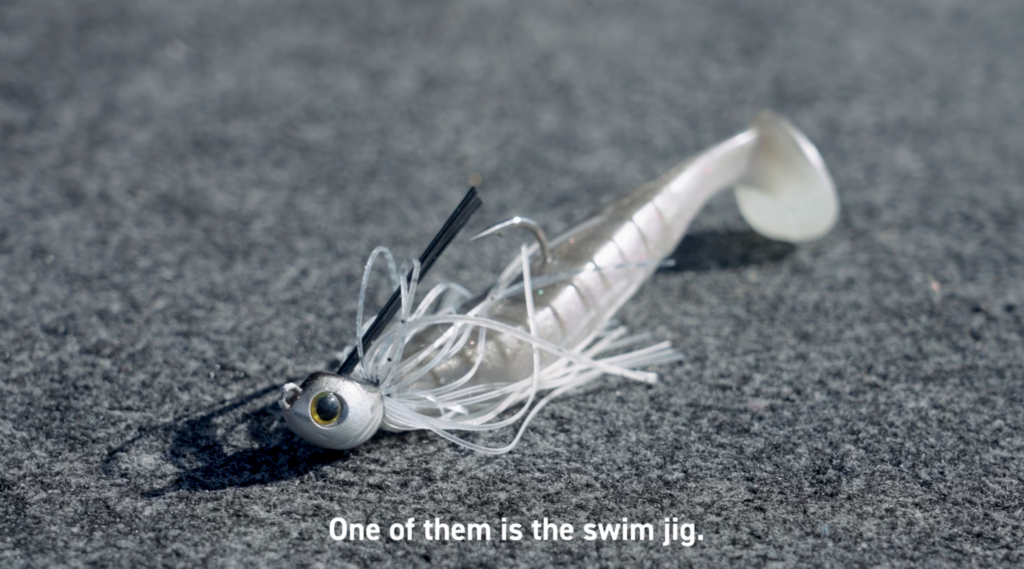
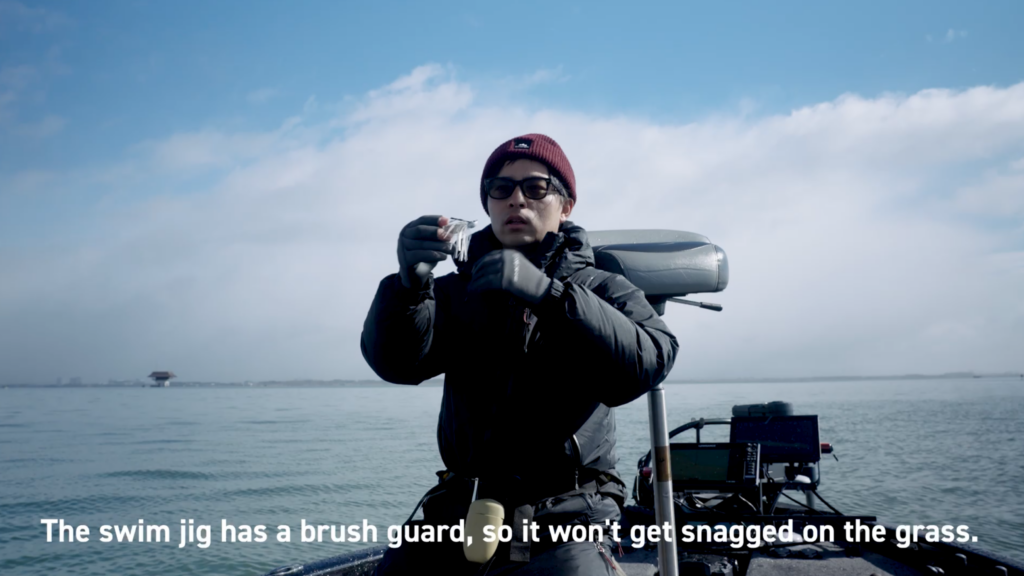
- Grass (weed) areas: a weed-friendly swimming rubber jig + paddletail trailer
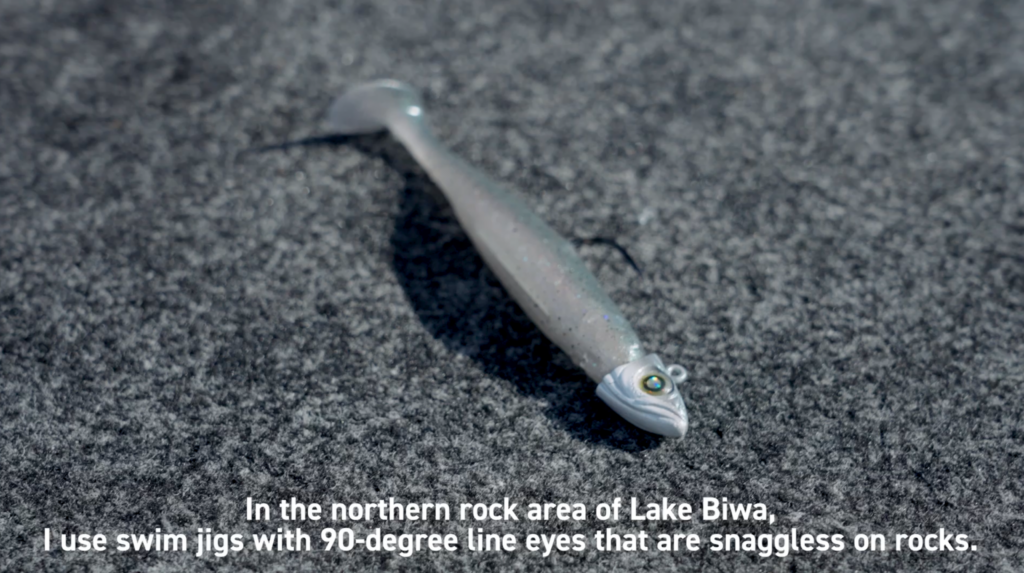
- Rock areas: a 90-degree line-tie swim jig + paddletail trailer for depth control and deflection
This simple system covers most of the high-percentage winter–spring zones on Lake Biwa.
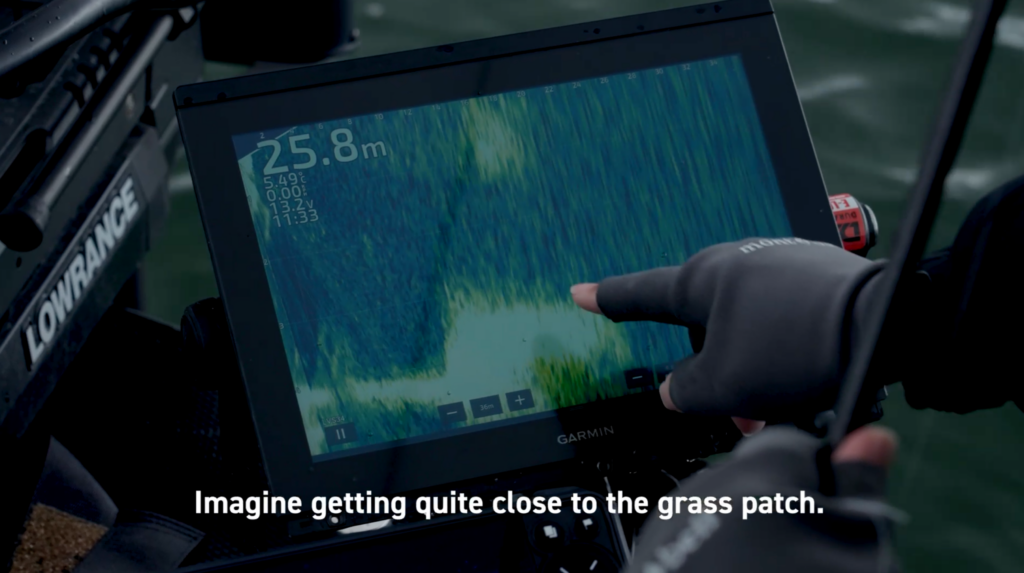
Grass Area Swim Jig (Weed Patches on Flats)
What it is + why it works
In grass areas, I combine a swimming rubber jig (with a brush guard) and a paddletail trailer (often called a “shad tail” in Japan). I fish this tight to grass patches on flat areas, which is a strong way to make big pre-spawn females commit. The brush guard is critical because it helps the jig come through vegetation cleanly—either inside the grass or just above it—without constantly snagging.
The core retrieve concept
The biggest concept here is controlled contact. You want the jig to lightly touch the grass/cover as it swims. That subtle contact is often what triggers the bite. However, if the jig loads up with grass, do not snap the rod hard. A strong rod pop usually blows the jig out of the “sweet spot” and pulls it away from the exact patch that the bass are using.
Step-by-Step: How to Fish the Grass Swim Jig Correctly
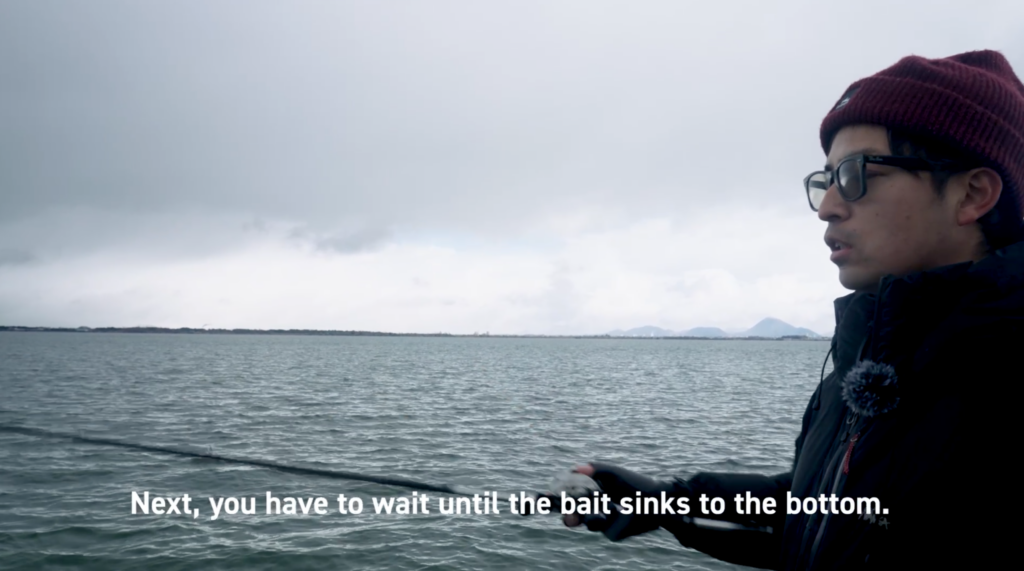
1. Cast & sink
- Make a long cast directly to your target grass patch.
- Let the jig sink all the way to the bottom before you start the retrieve
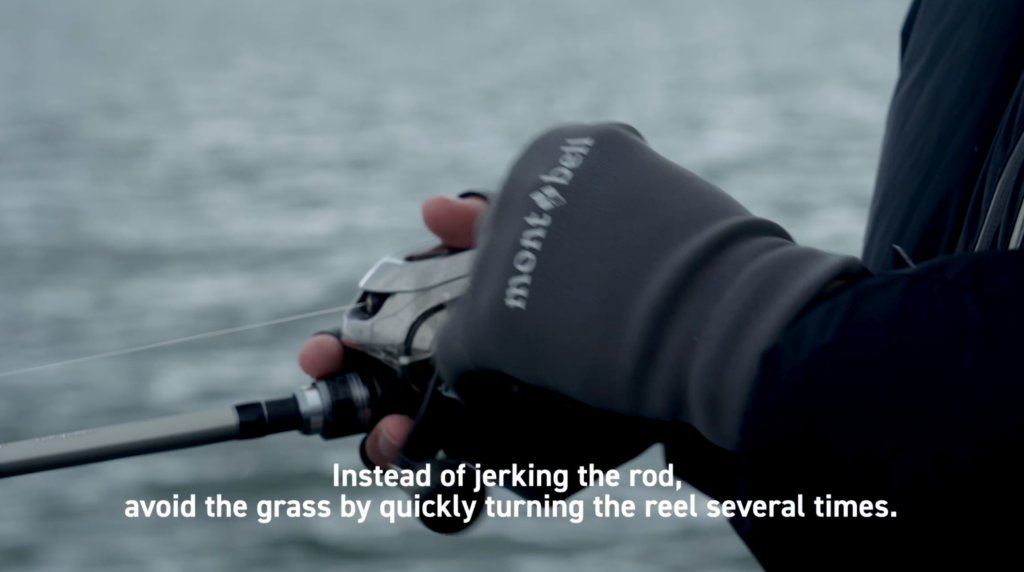
2. Slow roll + “reel to clear” method
- Begin a slow, steady retrieve.
- If you feel the jig start to catch grass, clear it by speeding up the reel handle for a few quick turns—use reeling only, not a hard rod rip.
This “quick crank to slip the jig free” is the most important detail in this entire method.
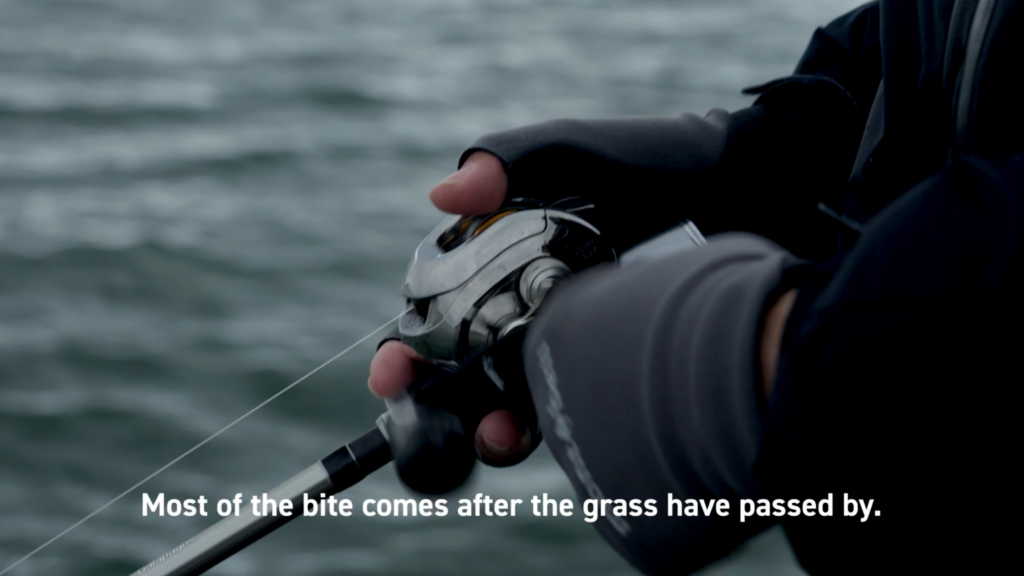
3. Where bites happen
Most bites happen right after the jig breaks free from the grass—that moment when it suddenly swims clean again is the biggest trigger.
What a Bite Feels Like (Two Common Types)
In this season, bites often fall into two categories:
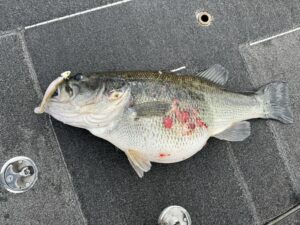
- A clear, aggressive “thump” (a hard hit you can feel immediately)
- A soft “mushy/heavy” feeling—almost like you picked up debris or a clump of grass
Short strikes are common in cold water, so you need to be ready to convert subtle bites.

Hookset for Cold-Water Swim Jig Bites (Do This, Not That)
Why “no big rod swing”
I do not recommend a big, snapping hookset with this technique. When you’re swimming a jig, the line often has a bit of slack and the bait is moving. A hard rod swing can miss fish or pull the jig away before the hook penetrates—especially with short bites.
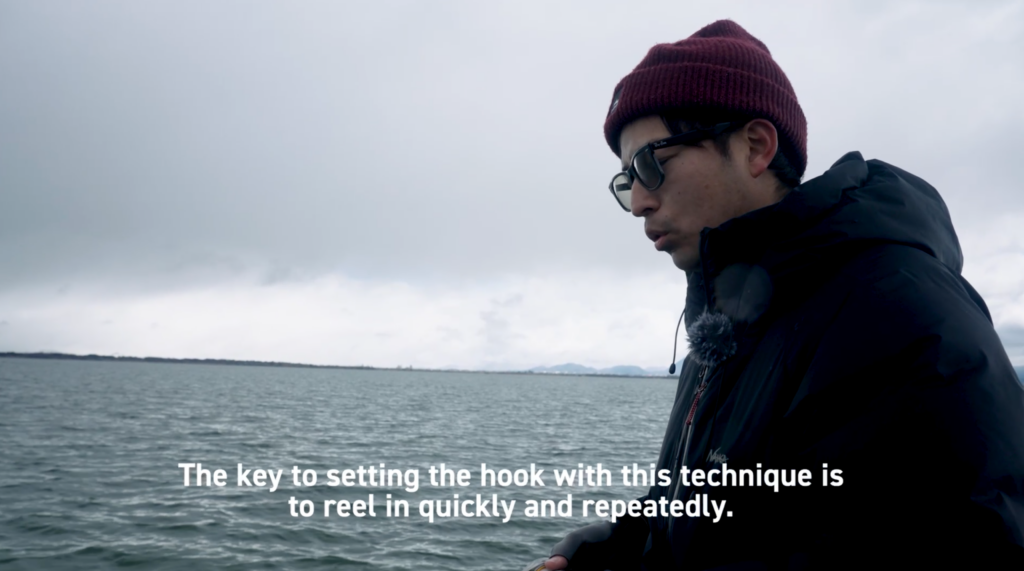
The correct hookset
When you feel a bite:
- Keep reeling until you feel real weight.
- Once the rod loads, use a reel-set (continue cranking and lean into the fish).
Hookset mechanics are a major part of success with this swim jig approach.
Rock Area Swim Jig (90-Degree Line Tie for Deflection + Depth)
Why a different jig
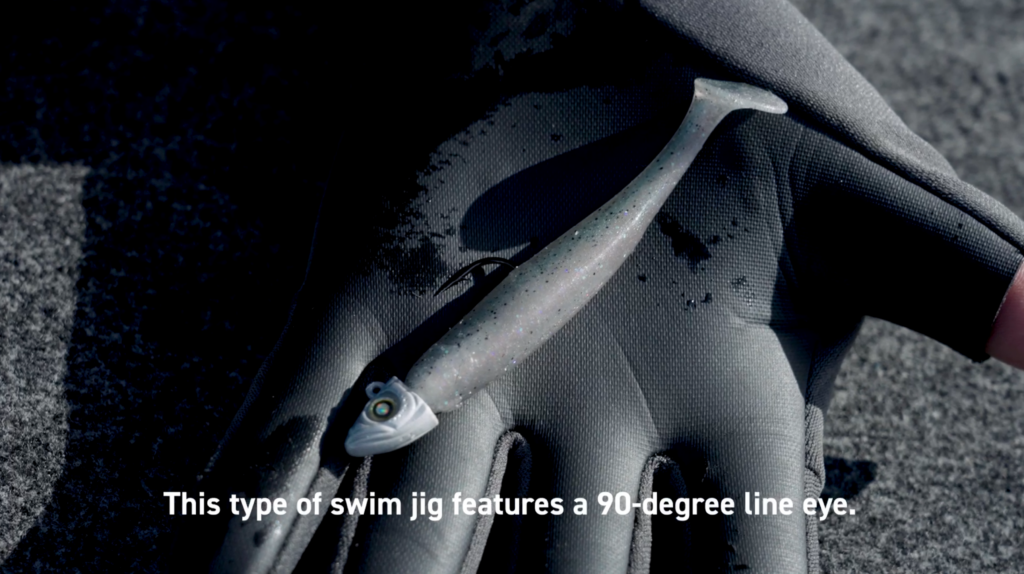
In rocky areas, I switch to a swim jig with a 90-degree line tie and pair it with a paddletail trailer. This head/line-tie design has two big advantages:
- Deflection: when the jig hits a rock, it tends to tip forward and climb, helping it avoid getting wedged or stuck.
- Depth stability: the 90-degree line tie lets the jig catch water with the “forehead” of the head, making it easier to swim deeper and keep a consistent mid-depth track.
When I choose it
If I want to swim a jig steadily through deeper water—for example, keeping the bait in a stable mid-range depth zone—this is the style I prefer.
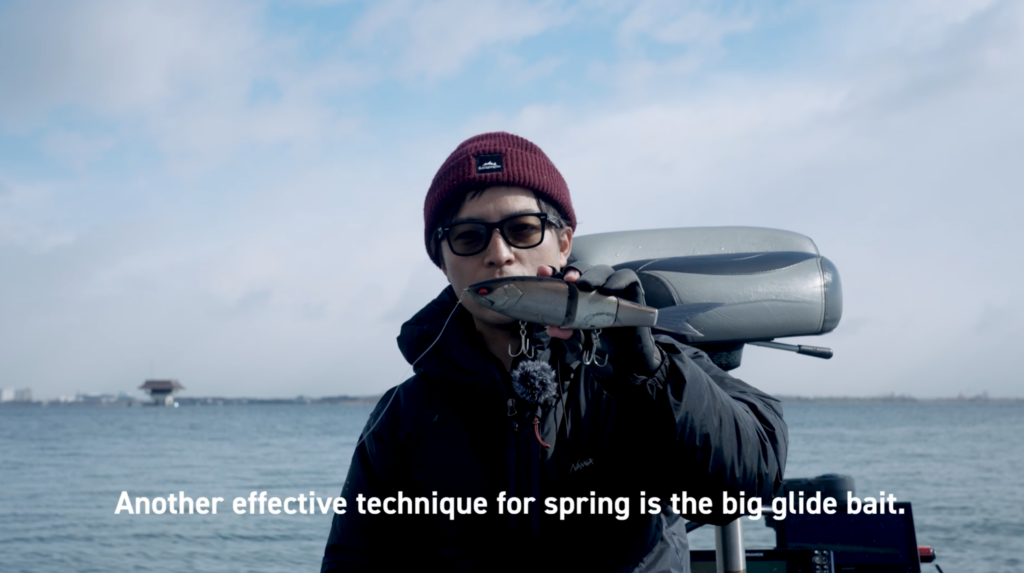
Swimbait Fishing on Lake Biwa (Big Glide Baits for Winter to Spring Giants)
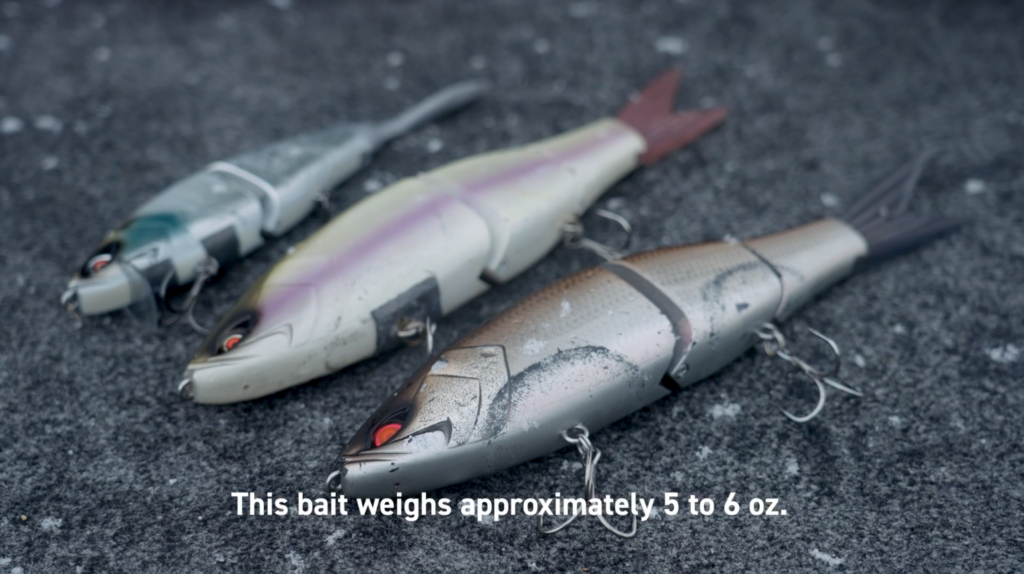
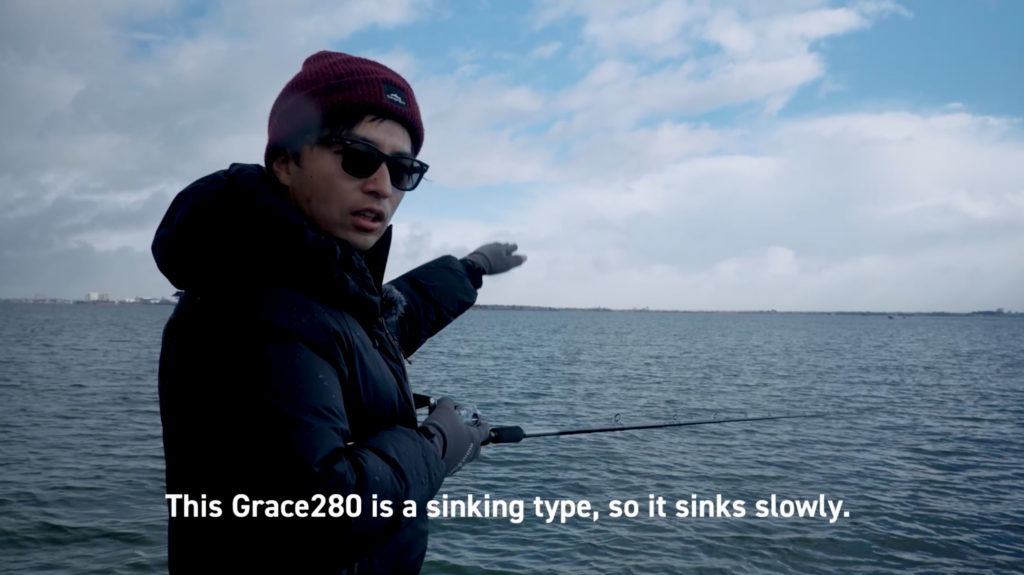
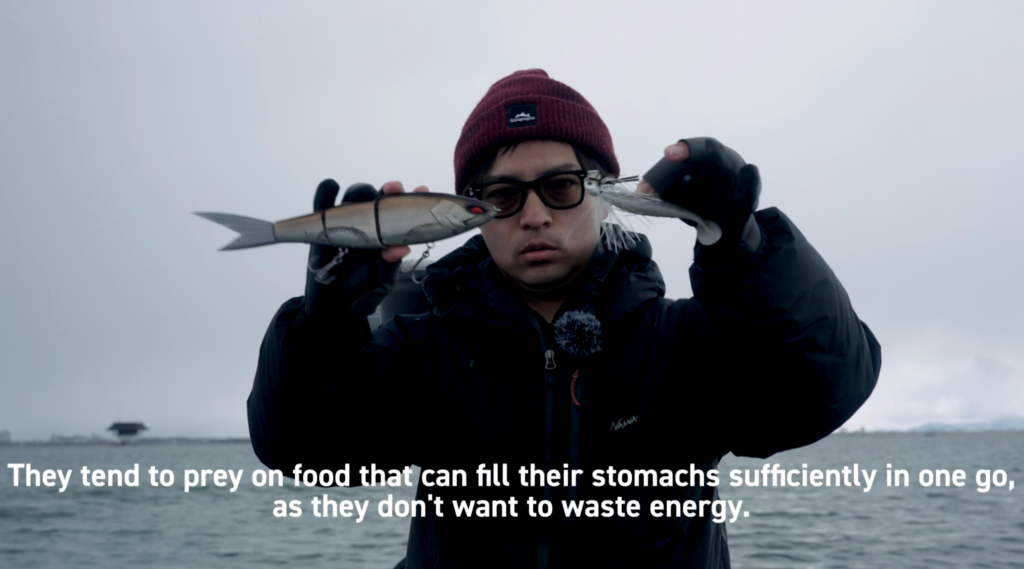
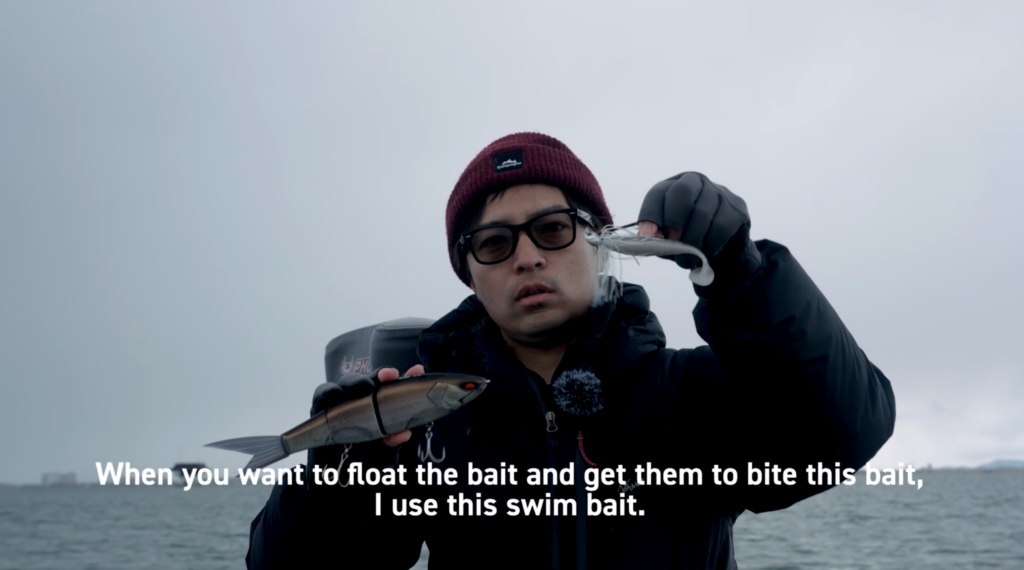
Swimbait fishing is Keito’s favorite style of fishing, and it’s one of the most exciting ways to target trophy-class Lake Biwa largemouth from winter through early spring. In this section, we’re focusing on a big, sinking glide bait—around 5–6 oz and roughly 11 inches long.
If your goal is to catch a fish that can break your personal best, this is one of the most realistic approaches on Lake Biwa during the cold-water season.
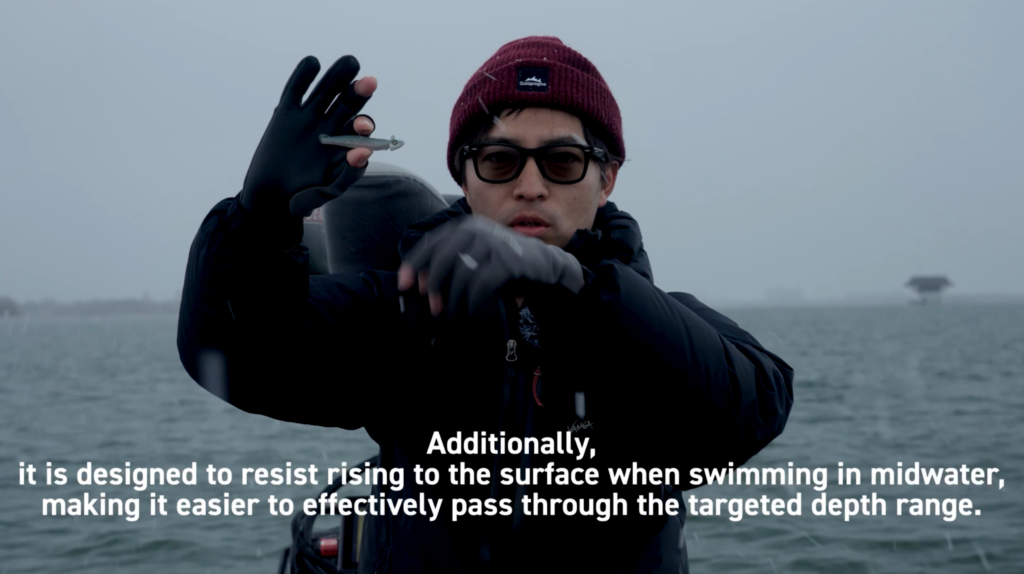
Why This Big Glide Bait Works in Cold Water
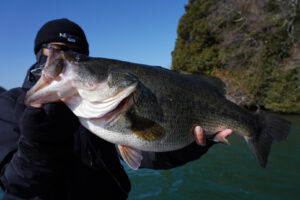
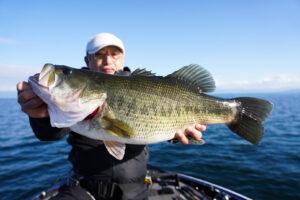
Even when the water temperature is low, this style can produce unbelievable chases (followers). It’s not rare to see a bass that was sitting near the bottom rise all the way toward the surface to follow the bait. That kind of visual pursuit is a huge part of what makes glide-bait fishing so addictive—especially on Lake Biwa.
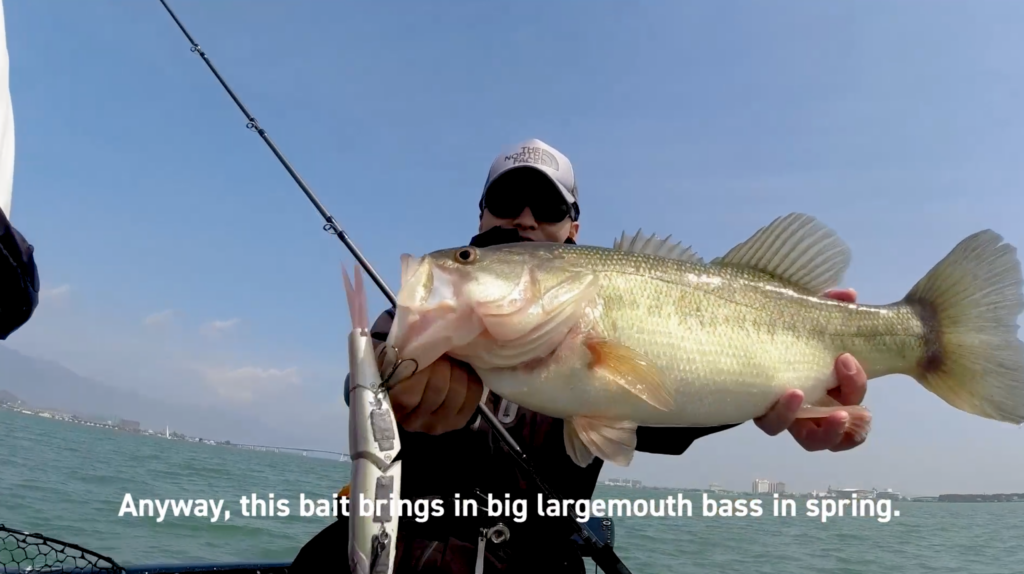
Personally, I’ve landed multiple bass over 10 pounds using this exact approach. It’s not an “easy bites” technique—it’s a big-bite technique, and it consistently draws the kind of fish most anglers travel to Japan to catch.
Recommended Tackle for 5–6 oz Glide Baits (Winter–Spring Setup)
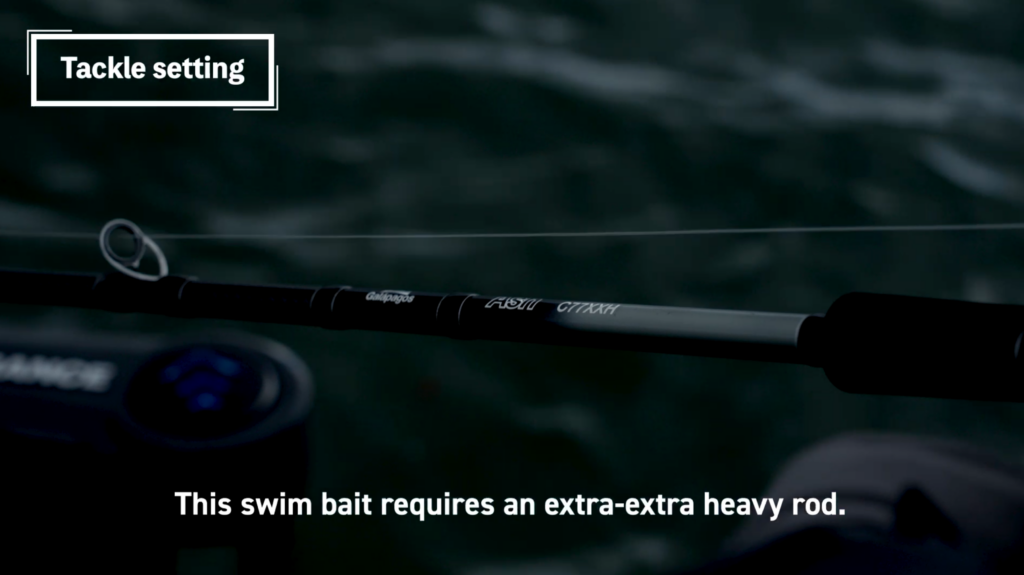
For an 11-inch, 5–6 oz glide bait, you need true heavy swimbait gear.
- Rod: a strong XXH-class rod is recommended.
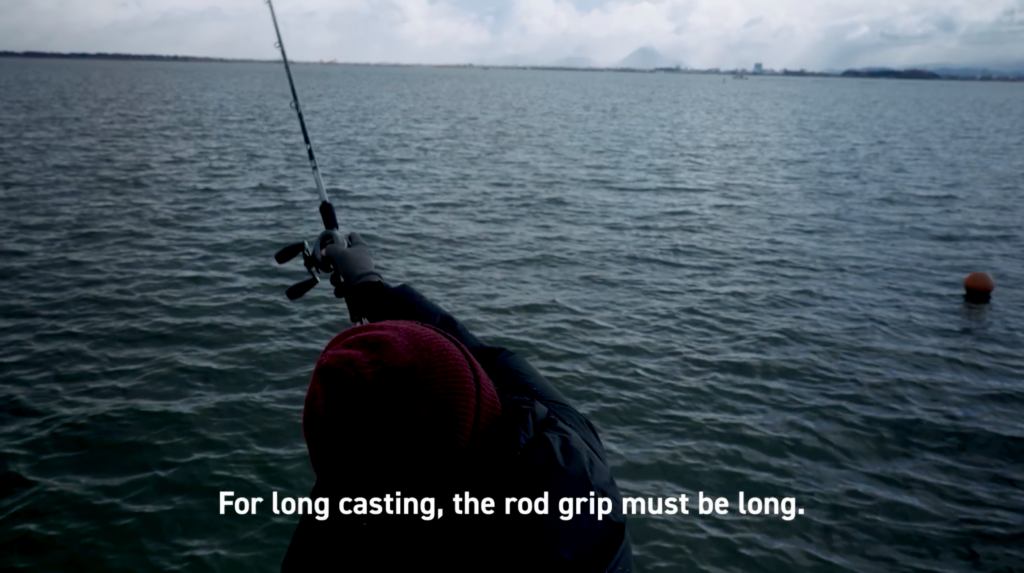
You want a rod that can handle full-power casts and has a longer rear grip, so you can tuck it under your arm and reel steadily with control during the retrieve. - Reel: use a solid reel that can comfortably hold thick fluorocarbon like 25–30 lb.
Many anglers also upgrade to a power handle (custom handle) so they can keep a slow, steady retrieve without fatigue.
For reference, I use a Galapagos “Ash” rod paired with a Shimano Antares DC MD.
Casting Mechanics (How to Cast Big Glide Baits Safely and Efficiently)
Casting is a key part of this technique. When you cast, take a slightly longer line drop from the rod tip than normal, then use a big, smooth casting motion—bring the rod back behind your body and make a controlled, full swing forward. This helps load the rod properly and protects both your tackle and your body when throwing heavy baits.
Retrieve: Sink First, Then Slow Roll Near the Bottom
This glide bait is a sinking type, so after it lands, let it slowly sink. The goal is to get it down close to the bottom—especially near any remaining submerged grass (weed)—then begin the retrieve.
From there, the retrieve is simple: just reel very slowly.
The slow roll is the foundation of this approach. Don’t overwork it—cold-water fish often respond best to a controlled, steady presentation.
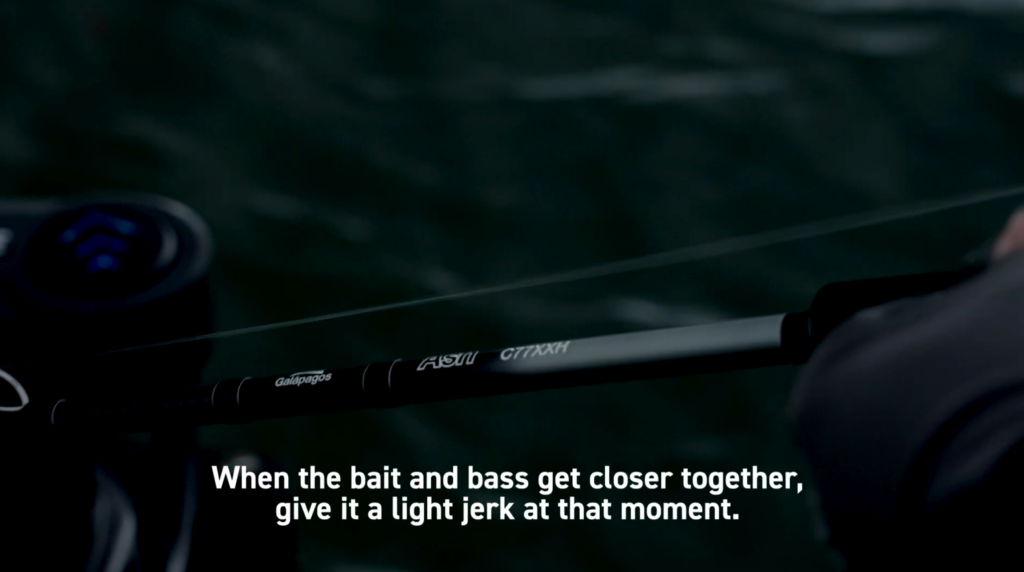
When You See a Follower (How to Trigger the Bite)
If you spot a bass following the bait, don’t panic. Keep your retrieve slow and controlled and manage your line slack carefully. When the distance between the fish and the bait closes, add a sharp jerk with the rod. That sudden change can “flip the switch” and make a follower commit.
When the fish are fired up, they may rise dramatically—sometimes from about 5 meters deep all the way toward the surface—just to track the bait.
Color Selection (Flashing vs. Matte)
There isn’t a strict rule for color, but changing colors can clearly change how bass react. I mainly rotate between two categories:
- Flashing colors (more reflective)
- Matte colors (more subdued)
In most cases, I still lean toward natural-looking colors, especially in clear water.

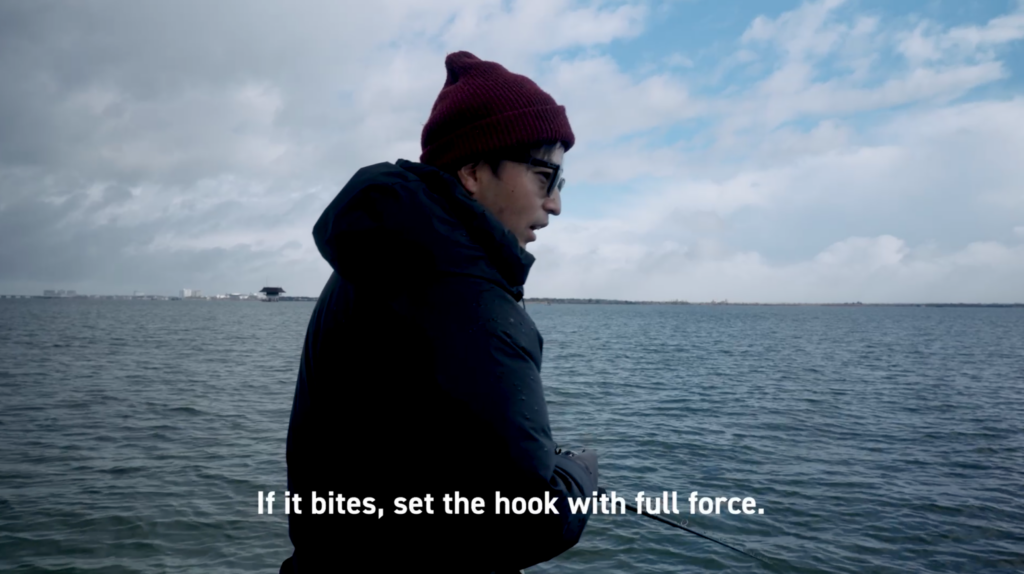
Hookset: Hit Them Hard (No Delay)
When you get a bite on a big glide bait, the strike is usually very obvious. Because this isn’t a lure the fish tends to “hold onto,” you should not hesitate.
If you get bit, set the hook immediately and with full power.
A strong, decisive hookset is a crucial part of landing fish with this technique.
When to Use a Swim Jig vs. a Swimbait (Lake Biwa Winter–Spring)
From winter through spring on Lake Biwa—especially when targeting bass that are already thinking about spawning—bigger, higher-volume baits tend to be more effective. That’s why these two options matter: a swim jig and a big swimbait (glide bait). Both are designed to draw the attention of quality fish, but choosing the right one depends on the day’s conditions.
The Basic Rule (Warm = Swimbait, Cold = Swim Jig)
Here’s the simplest and most reliable way to decide:
- Swimbait (big glide bait):
Use it when warm weather continues, the fish are more active, and bass are suspended or roaming higher in the water column. In these conditions, a swimbait can trigger aggressive following behavior and lead to true trophy bites. - Swim Jig:
Use it when the weather turns colder and bass bury into cover, especially inside grass (weed) and other obstacles. A swim jig allows you to fish tight to cover and get bites even when fish don’t want to chase far.
Another key difference is speed and triggering power. A swim jig can be swum faster and more aggressively than a big glide bait, which makes it ideal for generating reaction bites. When bass are tight to cover and not fully committed, that faster presentation—combined with contact around grass or structure—can force strikes that a slower, more “visual” swimbait might not get.
You Tube Channel
※Please click this image and enter our YouTube channel
Learn more about the attractions of Lake Biwa and how to fish
Attraction of Bass Fishing in Lake Biwa North
Best Glide Baits in Japan: Top 5 Most Popular Lures for Trophy Bass
OSP Saikoro Dice Rubber Rigging & How to【Explains from Lake Biwa Guide】
To learn more about the article, click this button.